Try this super easy drawstring backpack featuring the kicks block from the Stay Gold panel!
Welcome to another episode in my #StayGoldPanelChallenge, where I'm sewing my way through using as much of this fabulous pop-art style panel as I can.
You can see my first project here.
This time I have a back-to-school tutorial for you to make a drawstring backpack.
Those cool Kicks on the bold red needed to star in a story on their own, so I’ve paired this piece with some other bold Ruby Star collections.

I'm excited to be cutting into this panel and starting to see the gaps appear!

I’ve added some Robert Kaufman striped linen, some recycled denim from my son's jeans and a cool leather handle/hanger.
For everyone going back to school and needing a bag refresh and new storage solutions, this lined drawstring backpack is a perfect simple make.
This suits approx. a 6 year old, but by adjusting the length of the straps can also suit a much older child.
I’ve lined this with fusible fleece to give it more structure but leaving it out would also make it suitable as a shoe carrier or used clothes holder in luggage, or even a pyjama bag on the bed.
I've used 1.5" seam tape for my drawstring because it was the best match I could find on short notice. I do like how it's made the straps wider, so see what you've got on hand.

So if you don’t want to use this as a backpack, just leave off the side tabs, and skip the fleece and the leather hanger.
To get started, you’ll need the following supplies:
[1] Shoe Panel from the Stay Gold Panel
[2] Small coordinating scraps (A & B) for front
[1] Strip of denim
[1] Fat Quarter (18” x 20”) for back
[1] Fat eighth (9” x 18”) for drawstring case & side tabs
½ yard fusible fleece
½ yard lining
[1] 7” long narrow leather strip for handle
3 m length of ½” wide cord for string (more may be needed depending on size of child)
FINISHED SIZE: 11.5” X 15” (Not including handle)
Please right though before beginning.
Seams are ¼”throughout unless stated. RST = right sides together
Press fabric well before beginning
Cutting:
7” x 9” Shoe panel (square up & cut down by trimming a small section off each side of shoes, centering design by eye.)
7” x 4” Fabric A
5 ½” x 12 ½” Fabric B
12” x 3” Denim
12” x 14 ½” Back
[2] 12” x 14 ½” Fusible Fleece
[2] 12” x 14 ½” lining
[2] 12 ¼” x 3” Drawstring Casings
[1] 4” x 4 ½” Side Tab piece (will be cut into 2 pieces later)
Make Front & Back
Lay out the shoe panel, fabric A, fabric B and denim strip as shown below.

Sew fabric A to the base of the shoe panel, RST.
Sew fabric B to the right side of this piece, RST. Add the denim to bottom of this, RST.
Press all seams open.
Fuse fleece to completed front and to the back piece, following manufacturer's instructions.

Attach leather handle to the top of the back piece, measuring out 1 ¼” from each side of the centre, for a gap of 2 ½”. Baste in place with 1/8” seam allowance.
Make Drawstring Casings + Side Tabs
On short edge of each drawstring casing, press and fold under a ¼” hem, then press and fold under a second time.
Topstitch close to folded hem edge.

Fold in half length wise and baste along raw edges with 1/8” seam allowance. Topstitch ½” away from folded edge.
Repeat for second casing.
Fold side tab piece in half, RST, along shorter edge.
Stitch and press seam open. Turn right side out and press seam down the centre.

Cut in half so you have [2] 2” x 2” sections. Fold raw edges together with centre seam inside.
Baste edges with 1/8” seam allowance. Each side tab section now measures 1" x 2".


Place drawstring case onto the top of the front piece, matching raw edges and centering and clipping in place. Baste with 1/8” seam allowance.
Place a side tab onto each side of lower front piece, matching raw edges and centering tab over seam line. (approx. 1 ¾” up from bottom).
Baste in place with 1/8” seam allowance.
Attach Lining
Place lining onto front piece, RST.
Stitch along the top, enclosing the drawstring case. Repeat for back section.

Press front and back top seams in opposite directions to reduce bulk when seaming.

Sew Front & Back Together
Place front and back RST, with linings facing each other and front and back facing each other.

Match where the top seams intersect at drawstring case seams, and clip in place.
Stitch around entire front and back and linings, beginning on the lining, and leaving 4” opening on the lining for turning through.

Clip corners close to stitching.

Turn right side out carefully through the opening. Gently push corners out. Close up hole in the lining. Push lining down inside the bag.

Press seams well. Topstitch around bag edge along the drawstring case to hold everything in place.
Insert drawstring
Cut string into [2] 1 ½ m pieces. Hem edges if needed.
Thread cord onto a large safety pin.
Begin on one side, thread from bottom edge up through the side tab, up to one side of drawstring case.
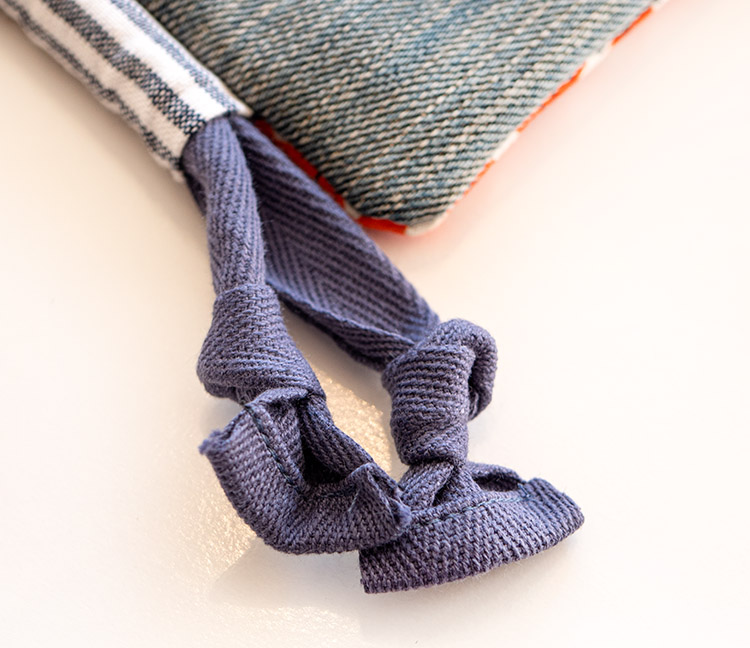

Thread though case, then back through the other side, then back down the same side and back through the tab again.
Knot both ends to hold in place. Repeat for second cord on the other side of the bag.

Now you're all done!
Tighten the cords to close the bag, and fill with all your back to school needs!
I'd absolutely love to see if you make one of these! Please share with #StayGoldBackpack and tag me on socials!


Join my Facebook community

If you're a social bee, get involved with over 1100 sewists, quilters, and creators from around the world. Share your creations and get inspired!