Scrappy Pompom Pincushion Tutorial
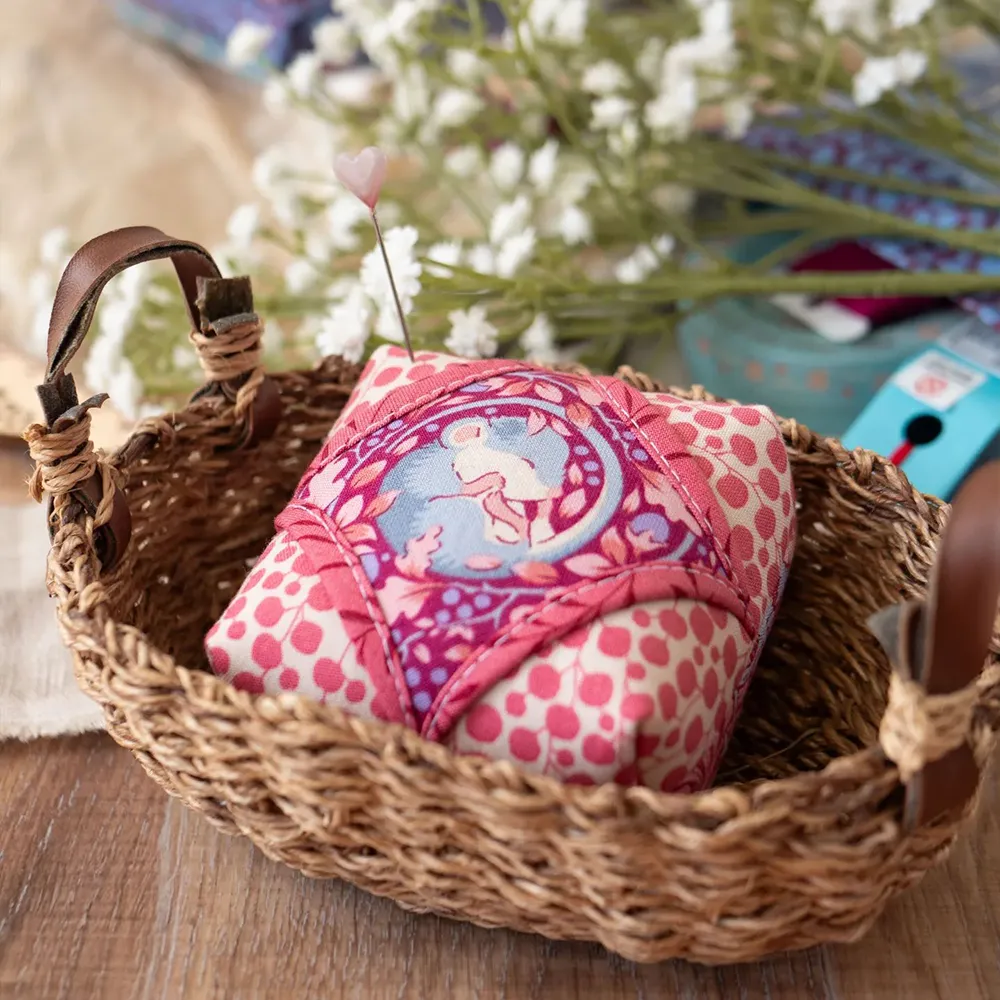
A hefty but o so pretty workhorse for your sewing space - try this scrappy pincushion today!
Today I'm sharing a quick tutorial on how to make my Scrappy Pompom pincushion.
This is such a sweet scrap busting project!
After I had finished my mini quilt, which was entirely made from charm packs, I was left with a lot of little trimmed scraps which still had plenty of use left in them.
And like so many of you, I hate to waste good fabric...especially when it's B&C!
I find that hard to get in Australia, and so I'm pretty protective of it!!
As this is a scrappy pincushion, it is easily adjusted to whatever you have on hand.
To make one like mine, 8" long, 3" wide, and 1.25" deep, you will need:
- assortment of scraps, approx 12 pieces 3.5" x 1.25"
- 8.5" x 4" piece of batting
- 2 pieces 3.5" x 1.75" fabric for short sides
- 2 pieces 8.5" x 1.75" fabric for long sides
- 22" length of ribbon 0.5" (12 mm) width, enough to go right around the edges of your pincushion, plus 5" (20 cm) more for bow
- 24 " length of pompom trim, enough to go right around the edge of your pincushion
- 8.5" x 3.5" fabric for the base
- stuffing (I like a mix polyfil and rice)
- glue gun
- sewing supplies

I gathered a selection of these scraps and squared up the edges.
Mine were all roughly around 1.25" wide, but I wasn't too precise about making them all exact.
I also mixed in a few white strips for a light and airy look.

Here's what I decided on.
I backed it with two layers of batting, and quilted with a 40wt Aurifil thread.
The extra weight and gloss of this thread is gorgeous!
You can add any other embellishments to the front at this stage too.
Adding my label makes me feel like a real professional lol!

Now it's time to cut your sides and base, and decide how deep you would like it to be.
I made mine 1.75" deep, to finish at 1.25".
This is a nice depth for pins. For full instructions on how to assemble the boxed part of a pincushion like this, refer to my Boxed Pincushion tutorial.
To add the ribbon as in the above photo, cut off four inches, and put aside for the bow.
I assembled my side strips into one long strip, and centred my ribbon along the middle, and stitched very close to the edge on each side, leaving a 1" gap to insert the bow later on.
I decided I wanted my bow to be off centre on one of the longer sides, so planned for my gap to be there.

Then join up the strips into a continuous loop, making sure to align the ribbon edges carefully.
Start and stop on the seams 0.25" from the top and bottom of each seam, as in my Boxed Pincushion Tutorial which make the square corners much easier to sew.

Now it's time to add the pompom trim around the bottom.
You can add this using your zipper foot, or if it's small like mine is, just sewing over the top of it.
I made sure to catch the exact edge along the quarter inch mark seam line.

Start and stop the trim by overlapping the edges, and when the base is sewn on, you won't even be able to tell where the join is.
Attach the base of the pincushion, right sides together, leaving a 1.5" opening for turning through and stuffing.

Continue to assemble and stuff the rest of your pincushion.
I like to add a combination of rice and stuffing, as I think this gives both a nice loft and substantial weight to the finished product.
Sew up the opening with ladder stitch.
I added the bow after I'd assembled and stuffed it, but you can add the bow while it's still just a strip on the mat.
I think I would have preferred the later, as it was a bit fiddly to add at the end.
Take a 3" strip of ribbon and fold the edges each back into the middle as shown.
Glue or stitch the ends together to the other side, then glue it to the very centre of that gap that you've left in the ribbon.
Fold the last little inch strip around all of that, and glue the ends at the back. Be very sparing with your glue.

A smart little bow with cute pom pom edging!

Add in a couple of coordinating pins, and you're good to go!
And there you have a scrappy pompom pincushion which is such great scrap busting project, and looks cute and stylish too.
I absolutely love to see when you make one of these, so please share your makes using #SmartScrappyPinCushion, and tag me on socials!
P.S. Don't forget to check out how you can design your own barn style mini quilt!
Join my Facebook community

If you're a social bee, get involved with over 7,500 sewists, quilters, and creators from around the world. Share your creations and get inspired!


