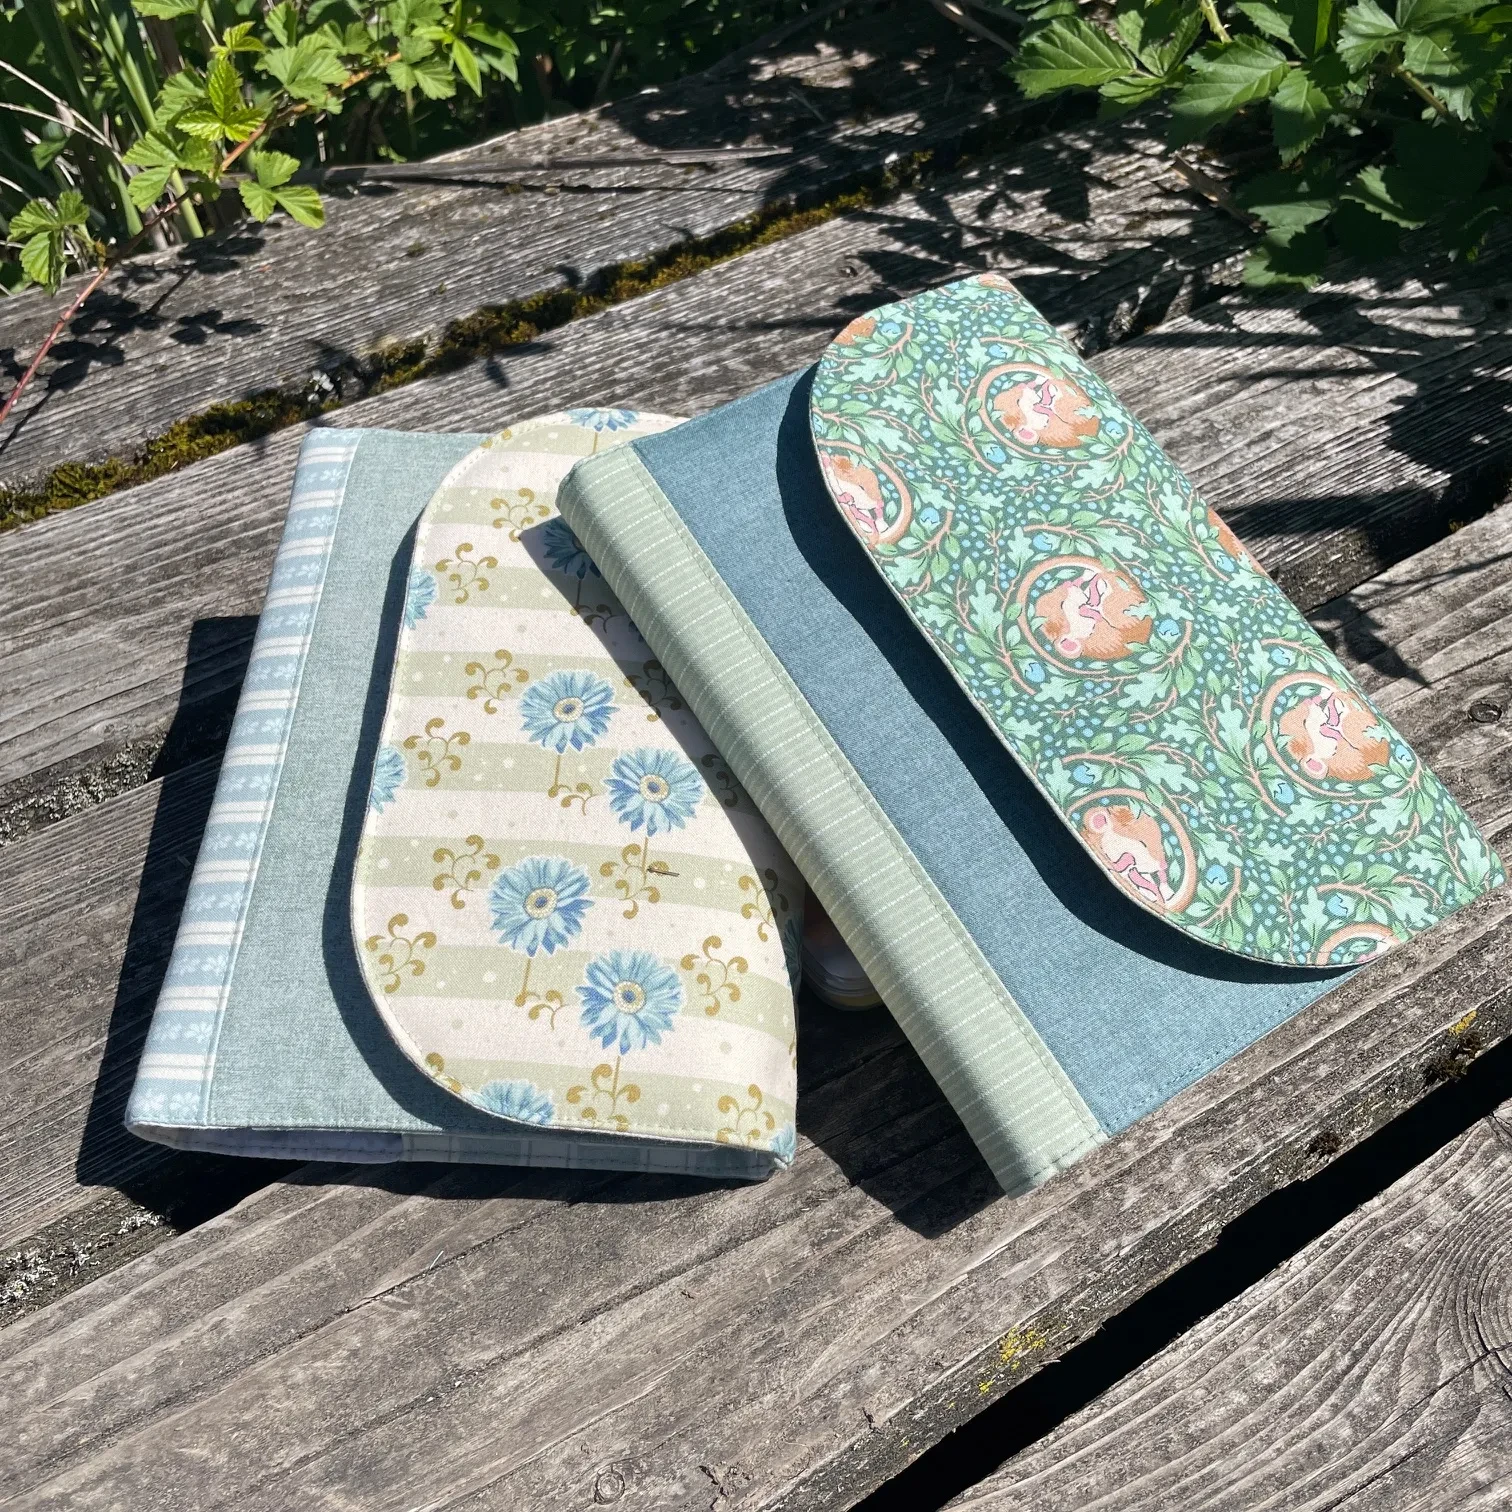
Binding Finesse: 3 Elegant Edges to Learn & Love
I'm spilling the tea on fabric binding - find out the 3 types I use in my patterns and where you would use them on different projects.
What is Binding?
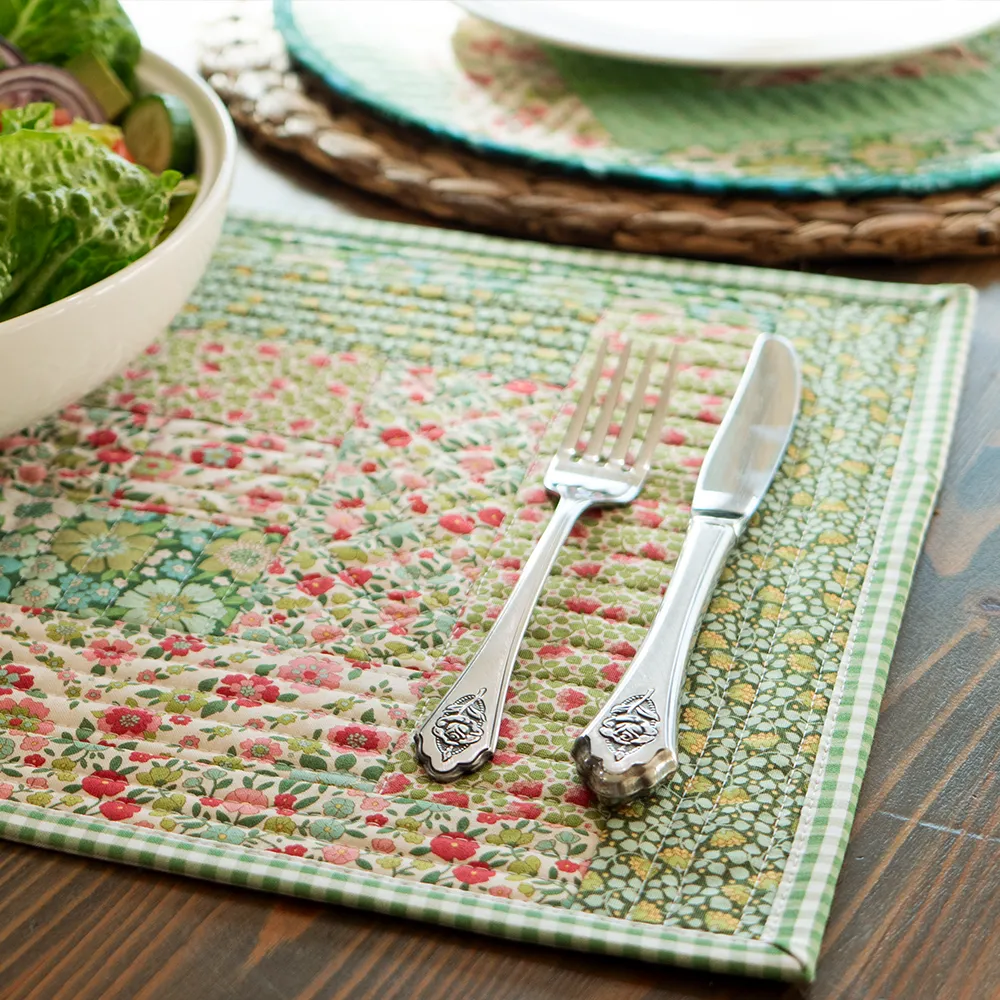
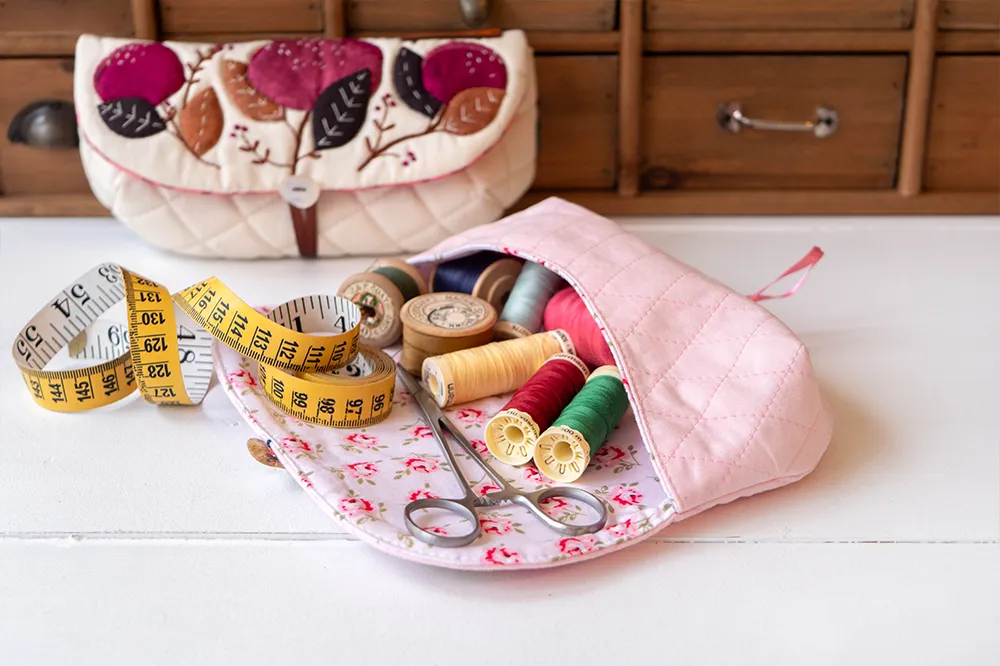
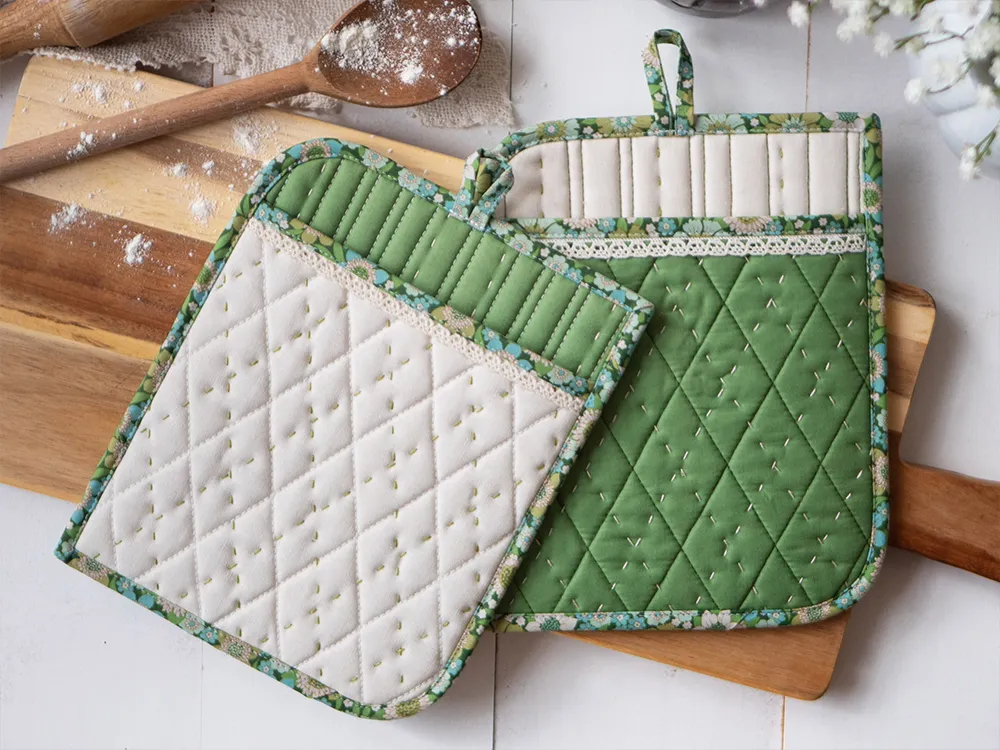
Many of my patterns use binding to finish the raw edges on the project.
So what is binding?
Binding is the term for using a strip of fabric to cover the raw edges on another piece of fabric.
For me, working with binding and mastering the technique for making and applying it hasn’t always been easy, but now it’s one of my favourite parts of sewing a pattern!
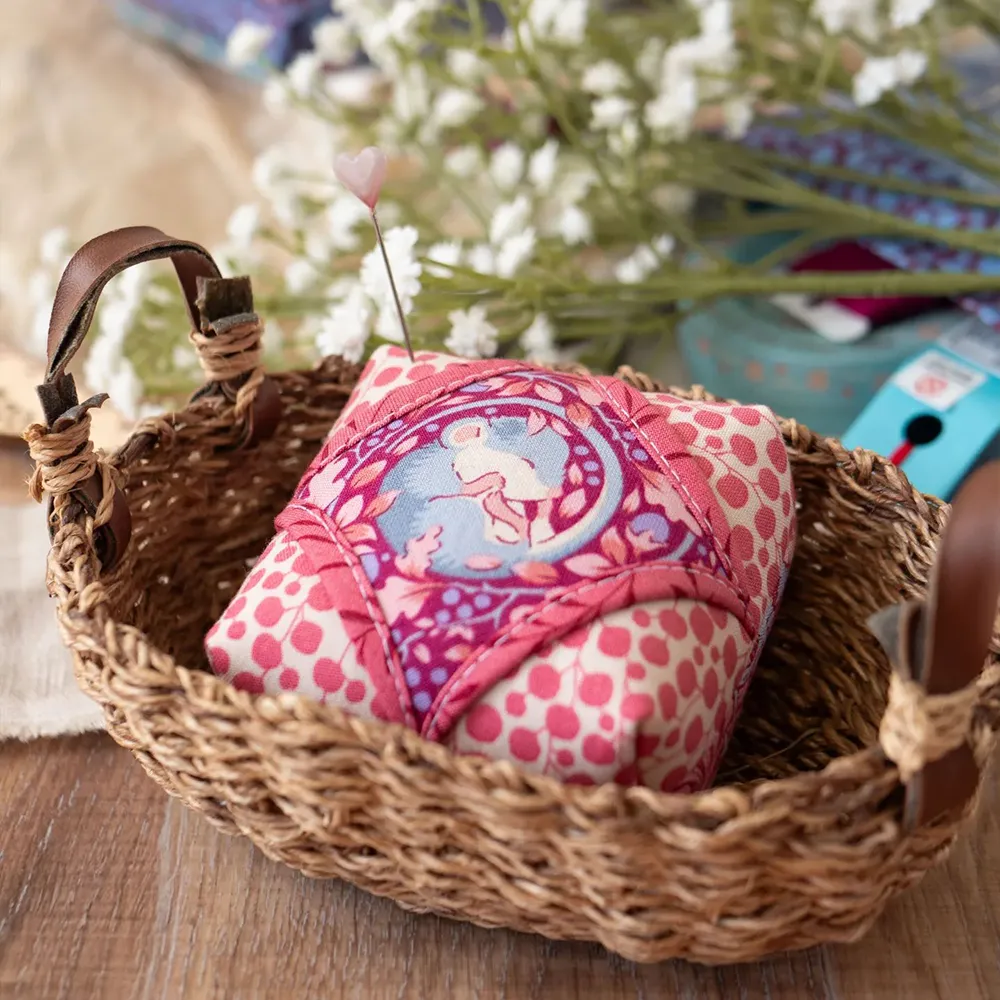
If I hadn't seen what magic could be made by adding a cute, tiny floral fabric to the edge of a project, I wouldn't have believed it.
While making your own binding is a bit tedious, the end results are stunning because you can make it from the perfect coordinating or contrasting fabric to make your project pop.
You can make it in any width you like, any print you like—so you really are opening up so many more possibilities to customise your project.

If you think you’ll be making a lot of binding for bags or bound projects, a bias tape maker kit is an inexpensive tool that makes pressing this evenly so easy - it’s well worth investing in and will save your fingers from being burnt!

The Smart Sofa Station
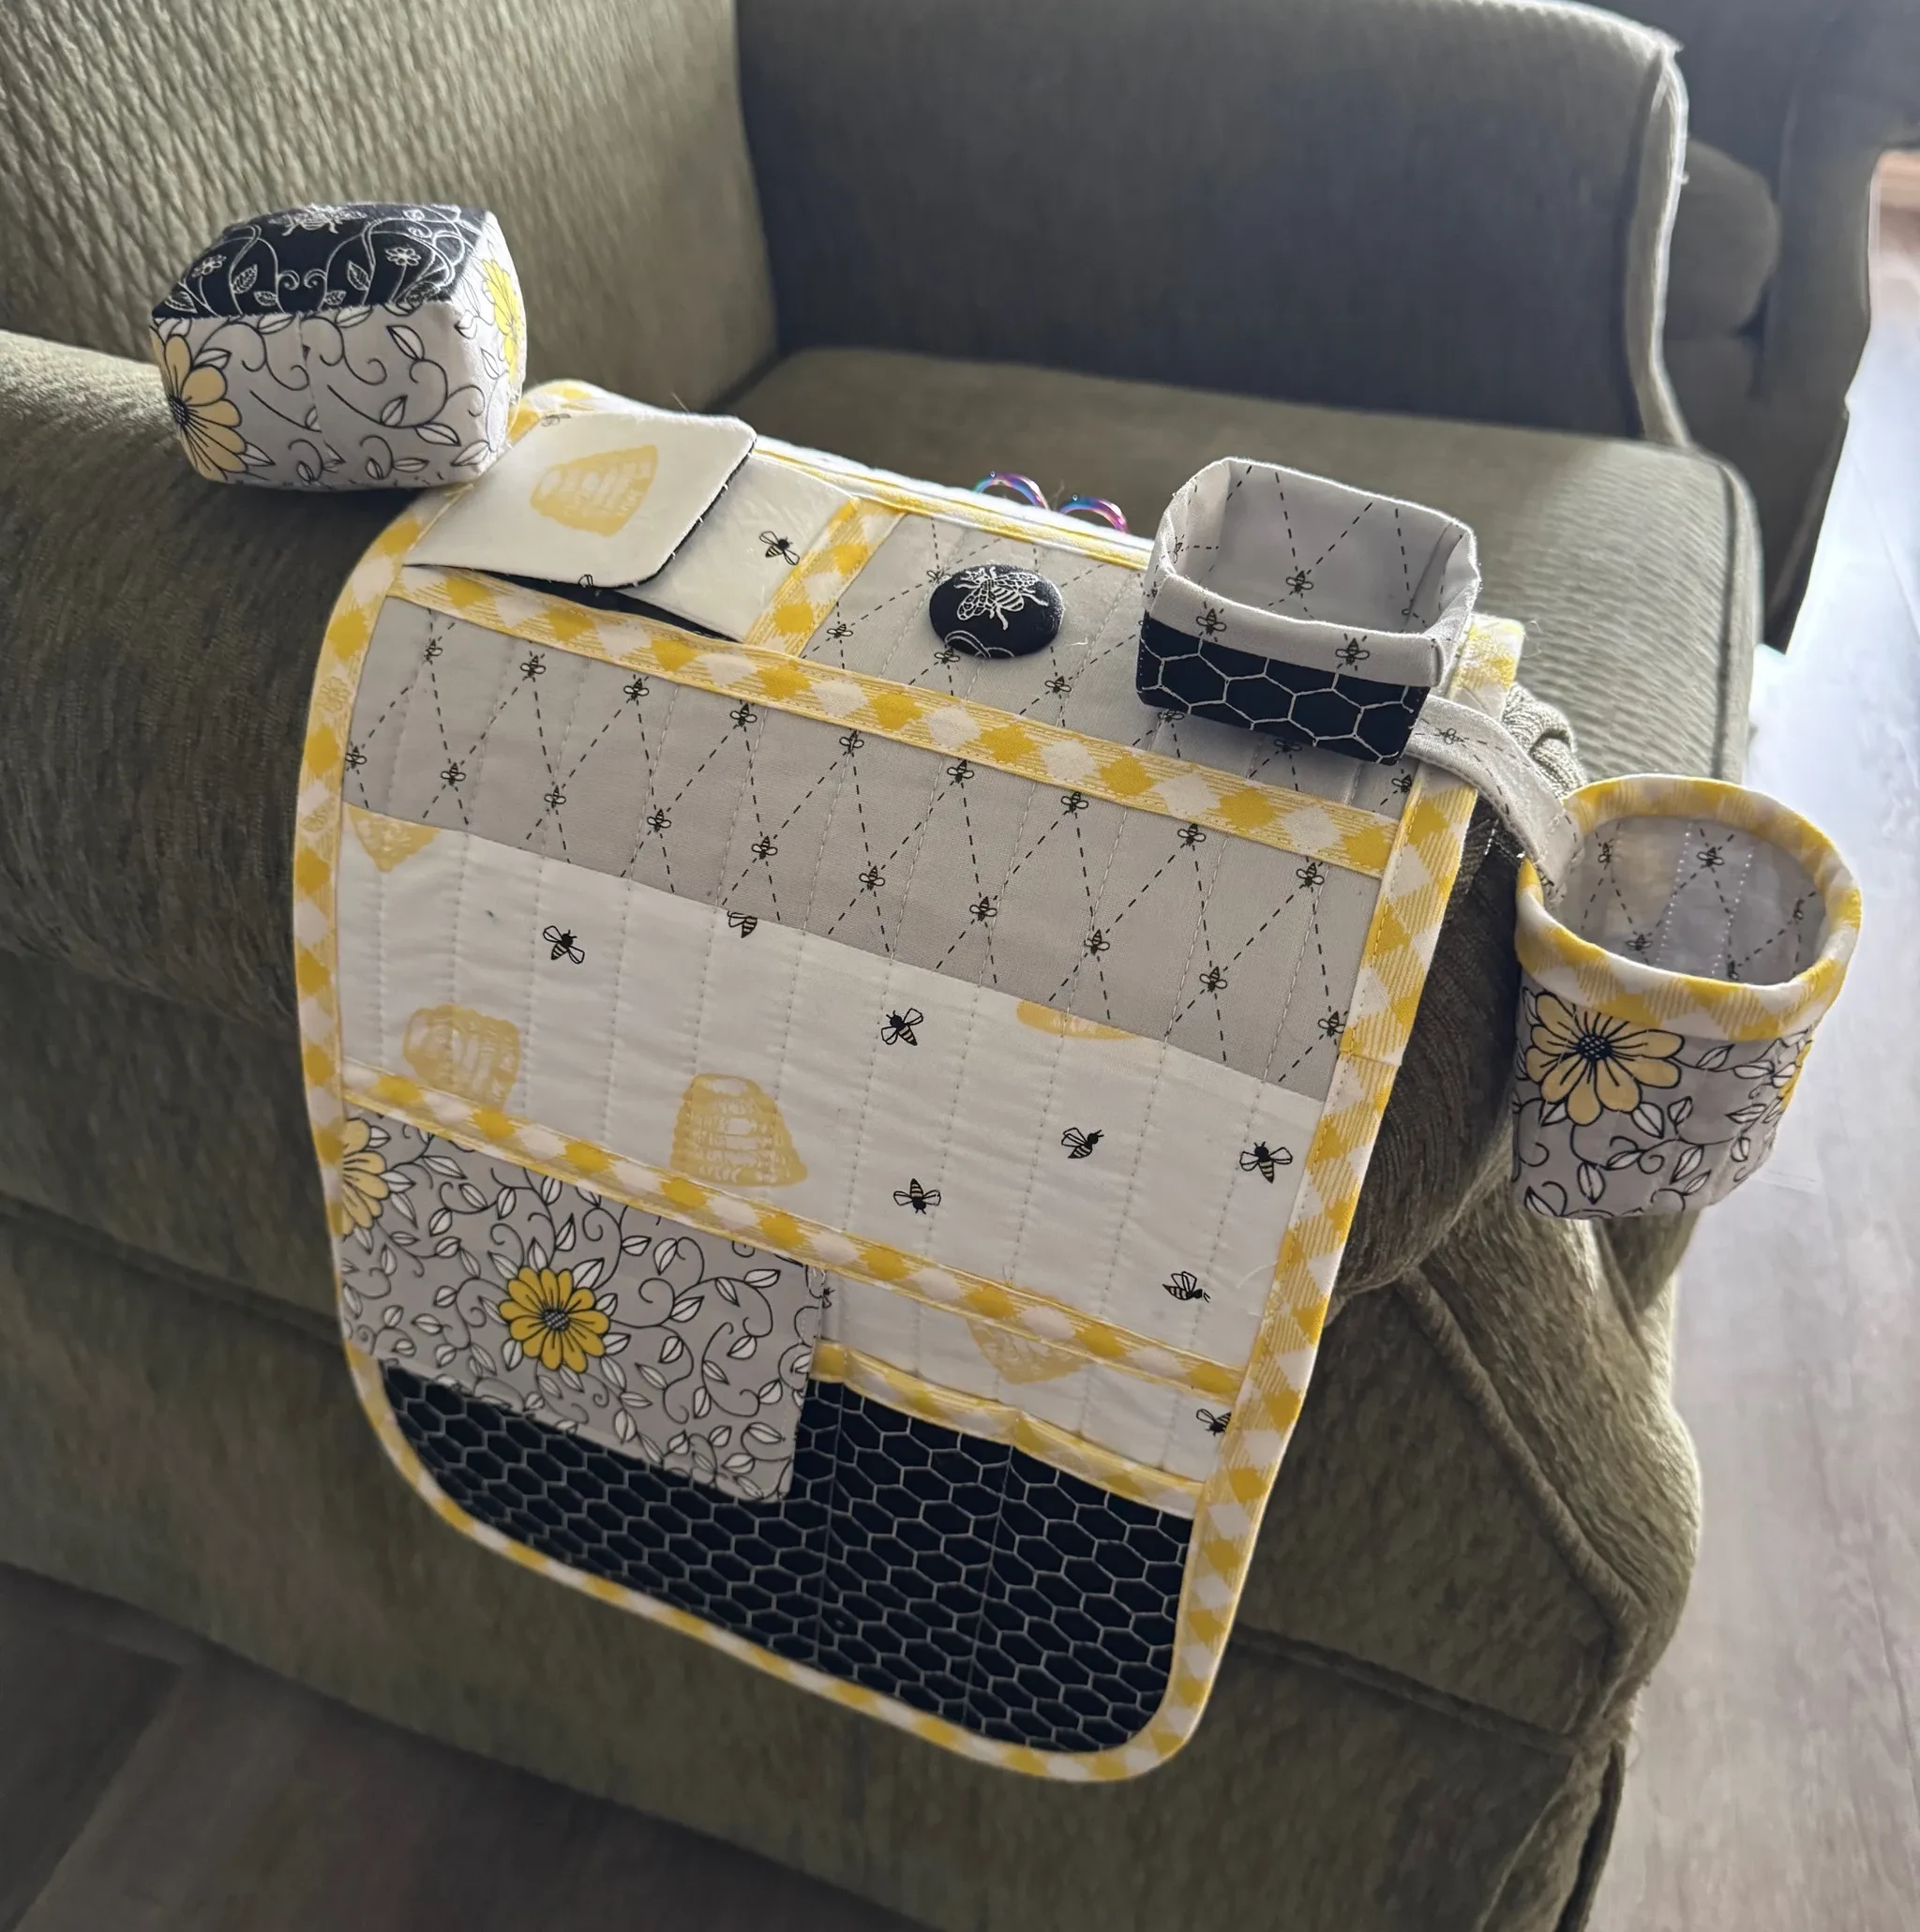
Streamline your sofa station with this customisable multi-craft organiser—loved by creators globally.

The Smart Sofa Station
Streamline your sofa station with this customisable multi-craft organiser—loved by creators globally.
3 Main Types of Binding
There are 3 types of binding that I use in my patterns.
Hold tight here, as this can sound confusing, but let me explain:
1. Single Fold Binding
This has both raw edges of the strip folded into the centre — so there are two folds.
The resulting finished binding is less bulky around a more delicate project where you don’t want a lot of layers.
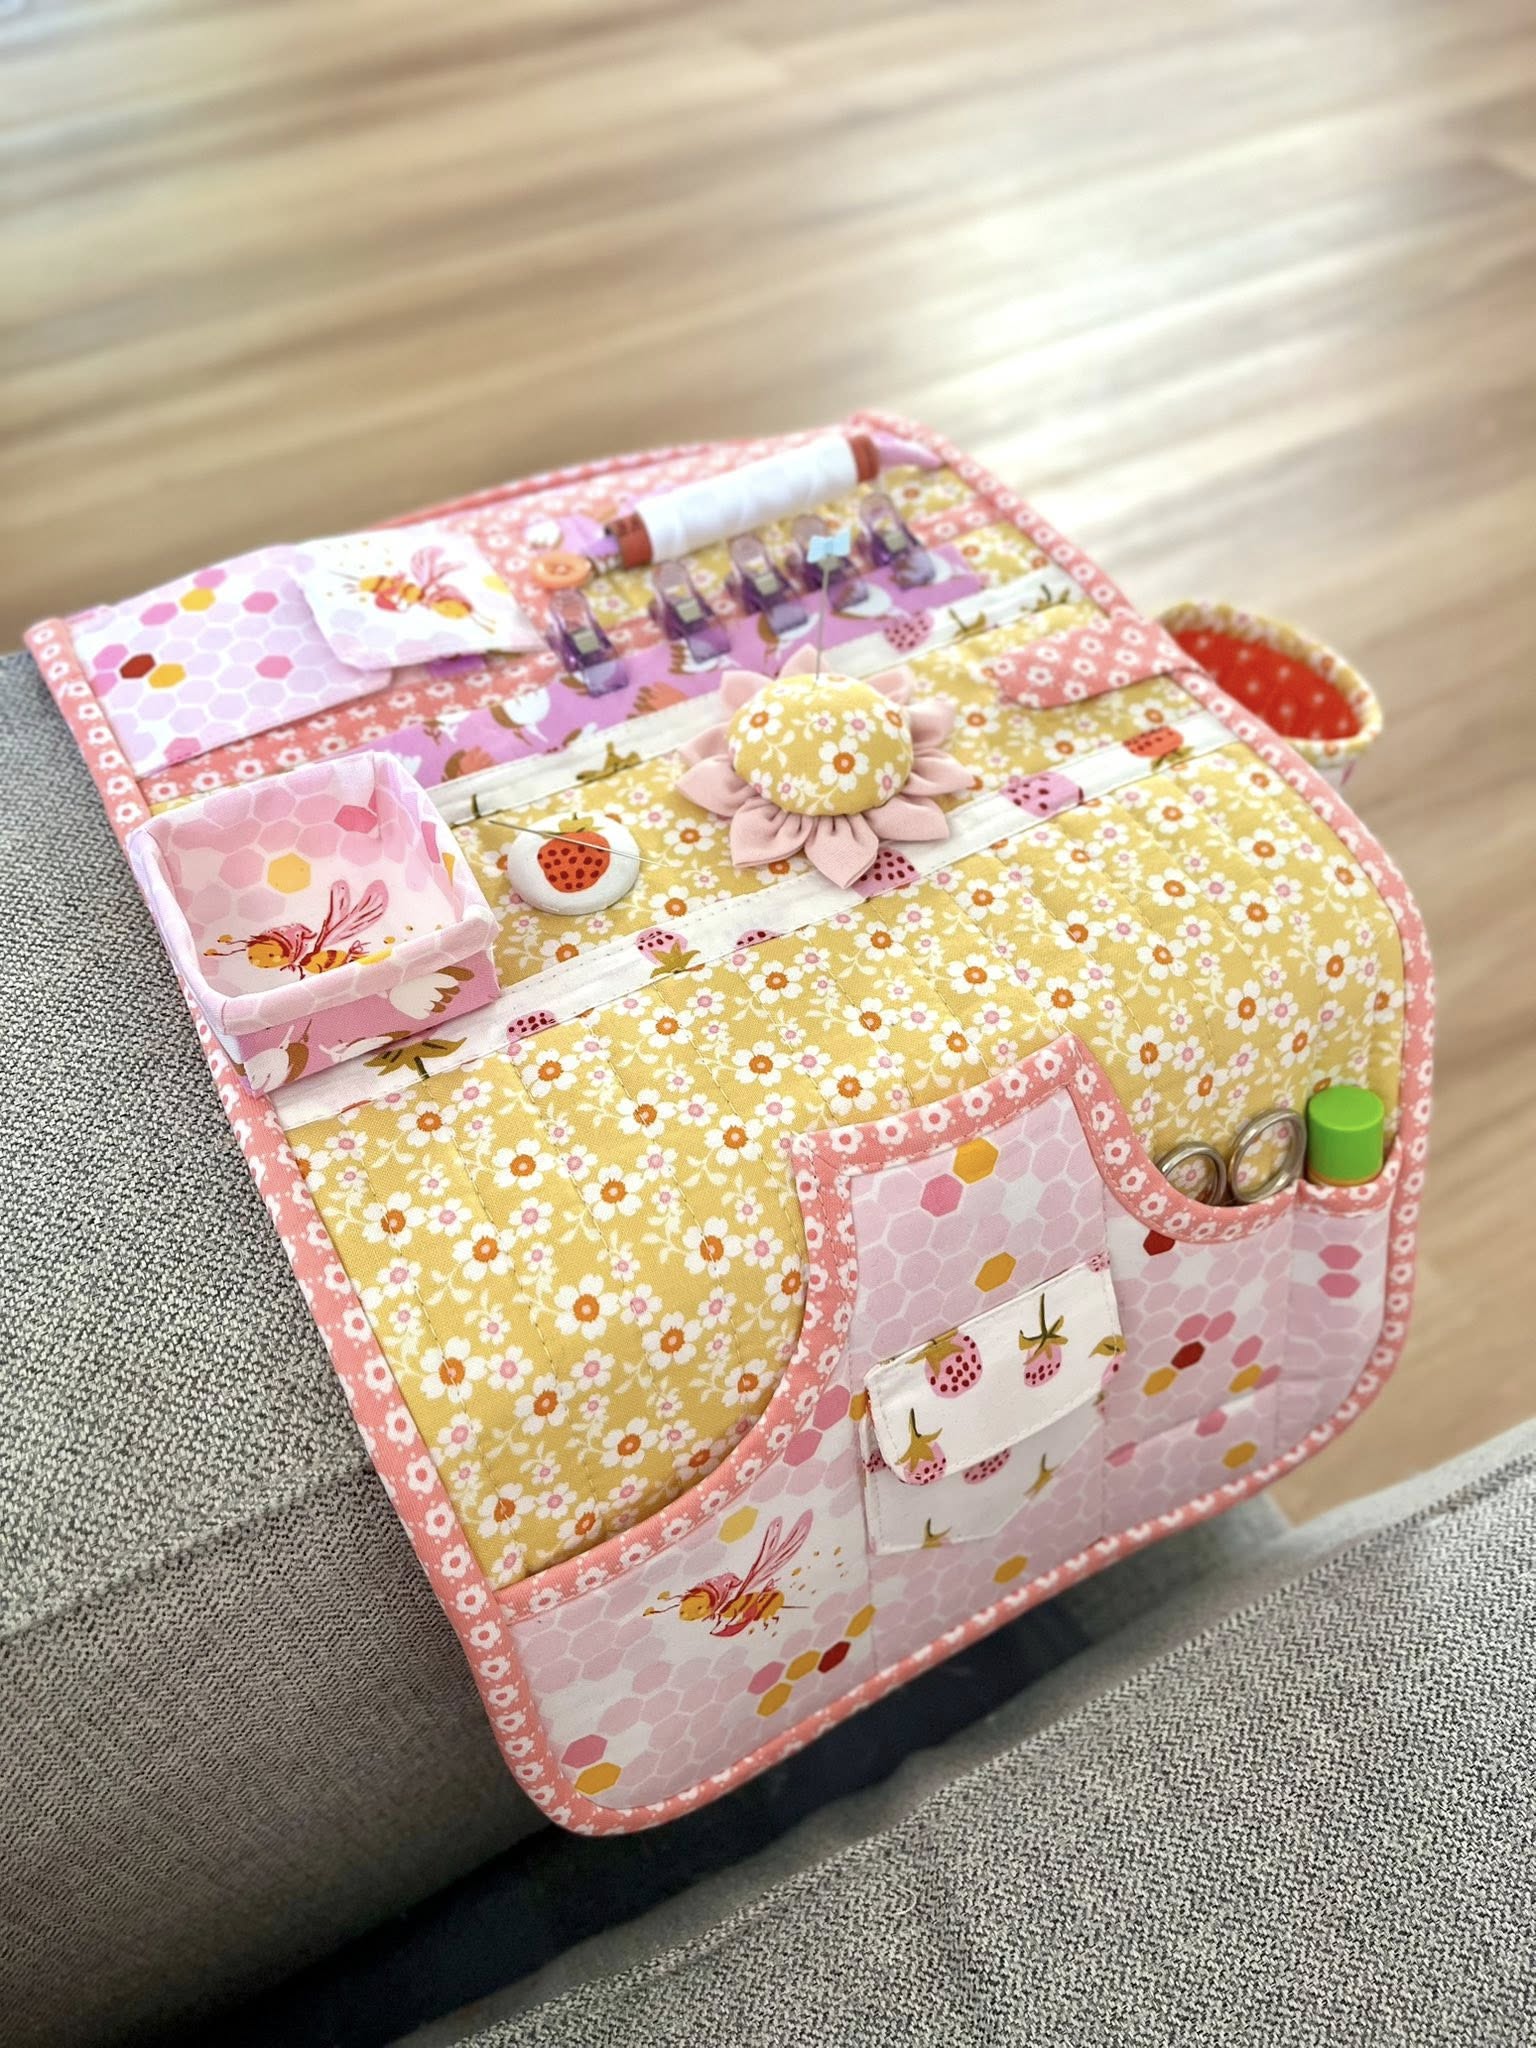
This was originally used as a facing for a neck edge or armhole and wouldn’t be seen. If you’re not making clothes, today we typically will turn this into double fold binding. But it has other uses too - in the Smart Sofa Station I used it as a single layer on the top of the base to cover the raw edges of the needle keeper.

2. Double Fold Binding
This is really a subset of single fold binding as it’s single fold binding folded in half again.
This results in three folds in the fabric strip.
This is commonly used for wrapping around the raw edge of fabric, and will be seen. You would use this on the edge of a project where you want to minimise the bulk on the edge. It can also be sewn together along the folded edges as ties for a project.

3. French Fold Binding
Aka — Double fold quilt binding

This is a fabric strip folded once in half with the fold one one edge and the raw edges meeting on the other edge. It results in one fold.
It’s commonly used to bind quilts, or finish edges that can cope with the extra bulk as you end up with 4 layers of fabric on top of your project layers.

It’s attached to either the front or back of a project along the raw edges, then is folded back over to the other side and either hand stitched or machine sewn in place.
It’s also commonly used to bind the internal edges of bags, and is my preferred method for binding most of my patterns, as I find it easier to control and work with. I also love it as the doubled up fabric makes it less sheer for light coloured fabrics - which is important for maximum ‘pop’ around an edge.
If all all this 'single, double, one fold, two fold' stuff is a bit much for you, the best way to become familiar with it is to just start using it. I've made a short video below to explain it in more detail.
Bias or Straight Grain?
Now you can cut each of these types of binding on the straight grain or on the bias.
Each of these suit different applications and there are pros and cons for both:
- Straight grain uses less fabric as it's cut either across or with the grain. It has far less stretch and is typically easier to handle, however it doesn’t curve easily around a curve so you're limited to straight edge projects.
- Bias binding uses more fabric as it's cut on the 45 degree diagonal and is a bit harder to manage because of the stretch. Although it takes a bit of practice to master, it’s like magic when it comes to binding curves as it molds perfectly to the shape you’re following. A precisely bound curve is a thing of beauty!
Sometimes in a project I will use both straight cut and bias cut binding depending on the purpose and how much fabric I have.

I highly recommend learning to work with all three types of binding, both straight and bias and learning to understand how they behave as you work.
It does take practice to master, but it’s a great skill to have in your sewing toolbox as it greatly expands the types of sewing projects you can make, and let's you use any fabric that you have to add your own personality that's totally you!

The Smart Sofa Station
Streamline your sofa station with this customisable multi-craft organiser—loved by creators globally.

The Smart Sofa Station
Streamline your sofa station with this customisable multi-craft organiser—loved by creators globally.
Join my Facebook community

If you're a social bee, get involved with over 1100 sewists, quilters, and creators from around the world. Share your creations and get inspired!


